On Sunday, he got the support beam in - one thing I actually helped with, even if it was just holding one end while he did the hard part. So exciting to have that part done!!! He still needs to drill and install the lag bolts, but the hard part is over. We were able to reuse the wall studs where we needed them and we'll also use the remaining ones to frame in the new lower wall that the counter will sit on. Gotta love free wood. And they're true 2 x 4's. The only thing we had to buy was the beam and the lag bolts. Score one for us.
He also got the heat and A/C vents dialed in. We decided to just cap the dining room one, instead of attempting to cut a hole in the ceiling through the plank, lath, and plaster. And we got SUPER lucky in the kitchen and ended up just directing the vent to the part of the ceiling that's already open from taking out the soffit. Again, bypassing cutting through lath and plaster, which is a HUGE, horrible mess. Score two.
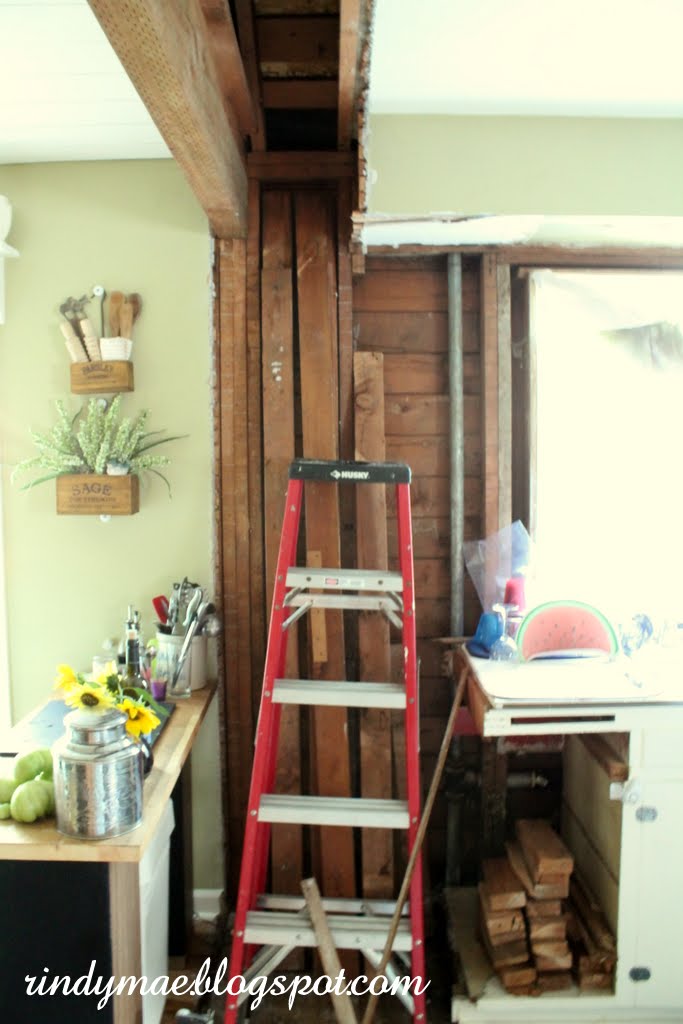
Here's Sunday's work in progress.
I'm tellin' ya, The Girl may grow up to be a contractor.


Look, Ma, no wall!

While we were gone on Saturday, The Dad had cut out part of the lower cabinets, to the left of the sink, to access the wall.
He needed to get the rest of the lath and plaster off and open it up for installing the beam.
And you'll see what happens when you continue to walk on rotted out flooring over several weeks time.


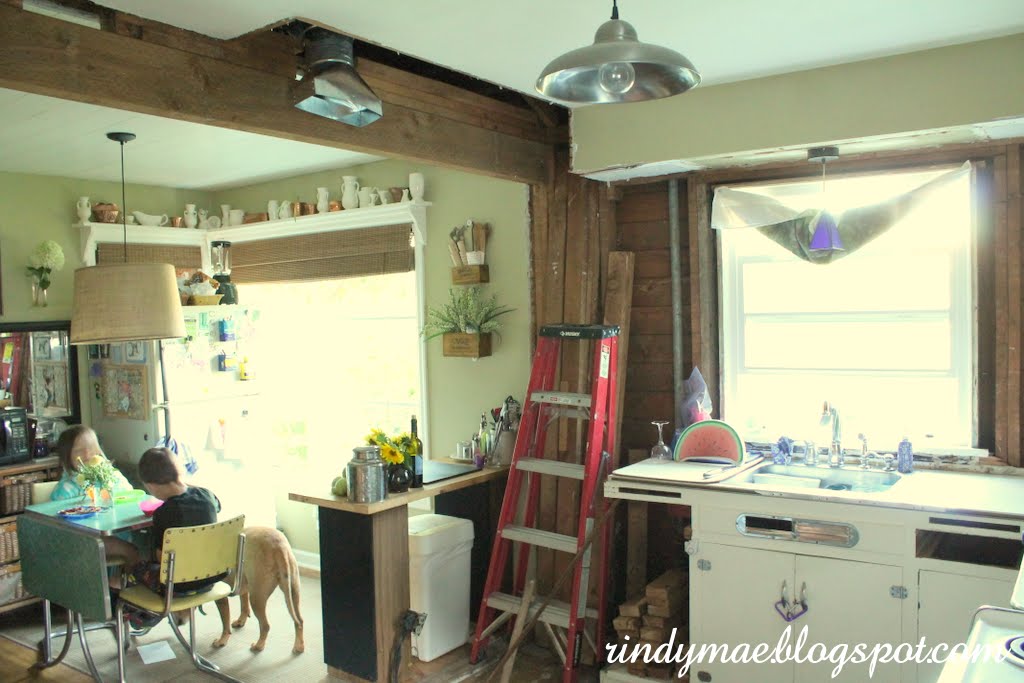
You can see in this picture where we used two of the old wall studs for the beam to sit on.

To make the soffit over the sink extend to the beam, he'll need to frame that section in for it.
Again, with the old wall studs.
Yee haw!

There it is, the new support beam, in all its glory.


And here's where the new heat vent will go.
He was able to pick up the new duct work and vent, as well as the cap for the dining room one, at Home Depot.
He still needs to frame up the ceiling so we have something to attach it to, (clearly it won't be hanging that low), but it's good to go.
We had the A/C runnin' yesterday, so it works.


I took these last pictures this morning, once everything was cleaned up.
And by cleaned up, I mean out of the middle of the floor.
The lighting is kinda weird, but you get the idea.


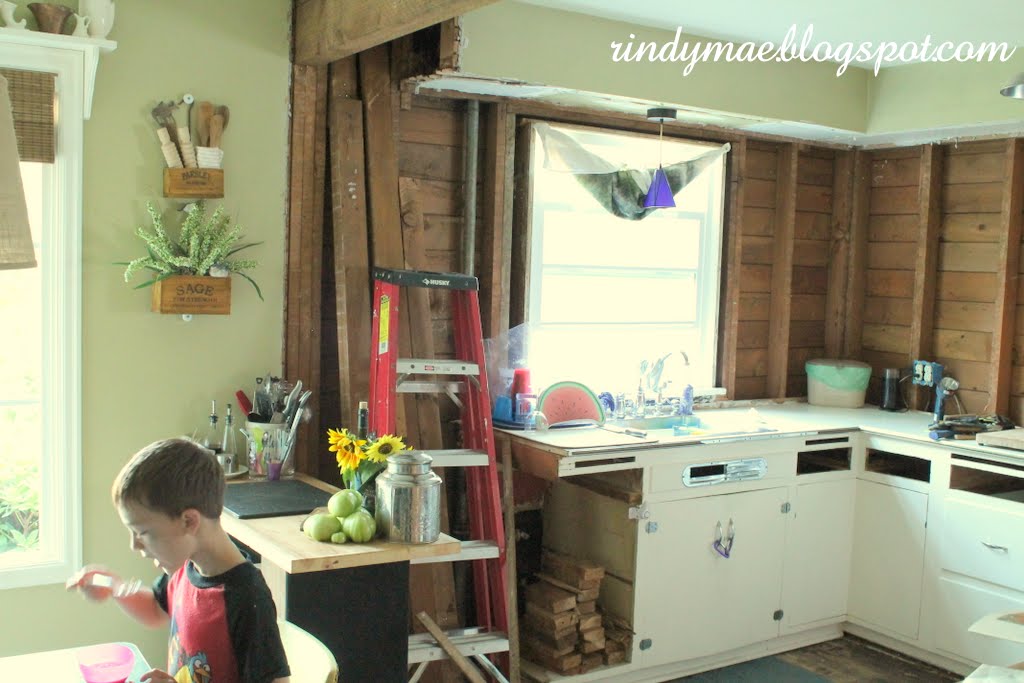


It's SO crazy to have that wall completely opened up.
Now I'm getting excited!
I dug through some old pictures, just for fun.


I dug through some old pictures, just for fun.
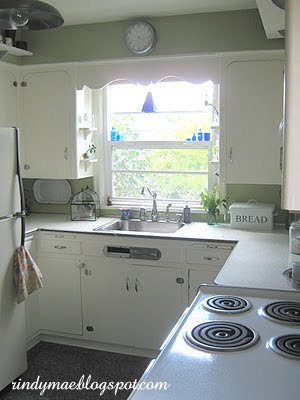


Is it weird that I'm choking back tears looking at those pictures?
So many memories in that kitchen.
It's been around since 1947.
And it's been mine since 2001.
As excited as I am for the new one, it's sad to see the old one go.
So many memories in that kitchen.
It's been around since 1947.
And it's been mine since 2001.
As excited as I am for the new one, it's sad to see the old one go.
Please see my sidebar for the parties I link up to.


Oh, wow, your old kitchen is so charming and lovely. And I'm sure the new one is going to be even better!
ReplyDeleteMindy, the progress is amazing! I can't even imagine all the work you guys have done. As much as I'd love to renovate, it kinda scares me too...
ReplyDeleteHow exciting. Can't wait to see what choices you made in terms of the counter tops you showed us and everything else. I think she will make for a popular contractor if she always dresses like that for work :)
ReplyDeleteI've been browsing the internet for inspiration and ideas to start my own kitchen remodel. I already have my table picked out and I plan to go look at ovens tomorrow. What is the most durable and cost-effective counter top material, in your opinion?
ReplyDelete